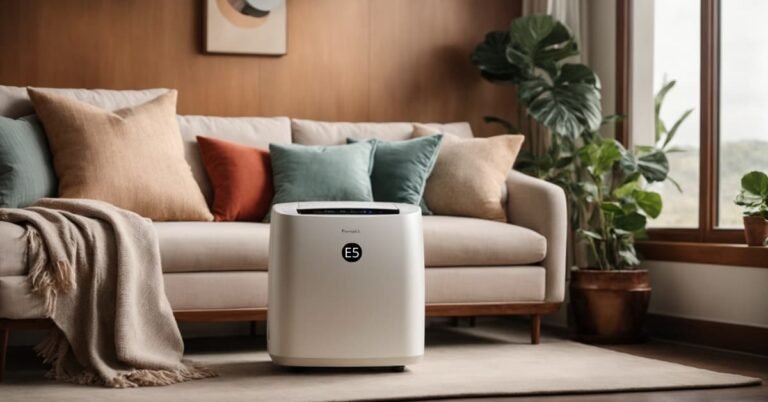
How to Clean Haier Portable Air Conditioner? Quick Guide
Maintaining a Haier portable air conditioner is crucial for optimal performance and longevity. Regular cleaning ensures efficient cooling, prevents mold growth, and keeps the air in your space healthy and fresh.
Are you looking for a hassle-free guide on how to clean a Haier portable air conditioner?
By following the simple cleaning guide, you can keep your Haier portable air conditioner running smoothly and efficiently throughout its lifespan.
1. Preparation For Cleaning
Before diving into the cleaning process, preparing correctly makes the task both easy and safe. Follow the steps below to ensure no detail is overlooked.
Gathering Supplies
A successful clean starts with the right tools. Here’s a list of what you’ll need:
- Soft cloths for wiping surfaces
- Water for rinsing
- A gentle detergent
- Portable vacuum with a brush attachment
- Fin comb for straightening any bent fins on the coils
- Screwdriver for disassembly when needed
Turning Off And Unplugging The Air Conditioner
Safety comes first. Turn off and unplug your air conditioner to prevent shock. Ensure the plug is completely removed from the outlet.
2. Cleaning The Filters
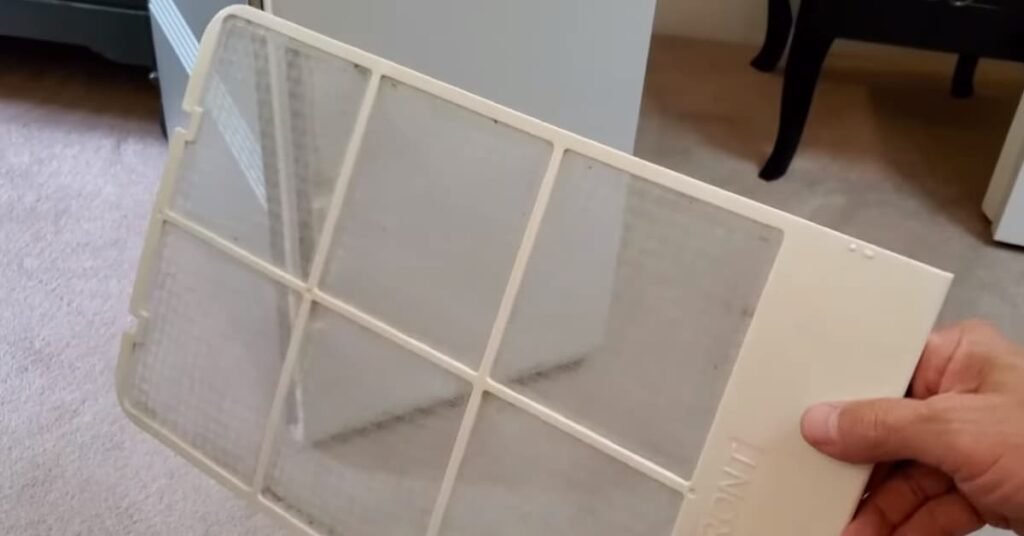
Clean filters ensure better air quality and system performance. We’ll guide you through three key steps: removing, rinsing, and drying the filters.
Removing The Filters
Gently slide the front panel open or off, depending on your model. Locate the filter; it’s usually found behind the front grille. Lift the filter up and pull it towards you to remove it.
Rinsing The Filters
With the filters in hand, it’s time to wash away the dust. Hold them under lukewarm running water. Do not use any harsh detergents. A gentle tap on the filter’s surface can help dislodge dirt. For stubborn grime, use a soft brush.
Allowing The Filters To Dry
After a good rinse, shake off excess water. Set the filters aside to air dry. Make sure they are completely dry before reinserting them. Damp filters can cause mold or bad odors.
3. Cleaning The Exterior
Maintaining a clean Haier Portable Air Conditioner helps it run efficiently. The exterior is as crucial as the inside. Dirt, dust, and debris can affect performance. Keep the exterior clean with simple steps. Follow this guide to make your air conditioner look and work like new.
Vacuuming The Exterior
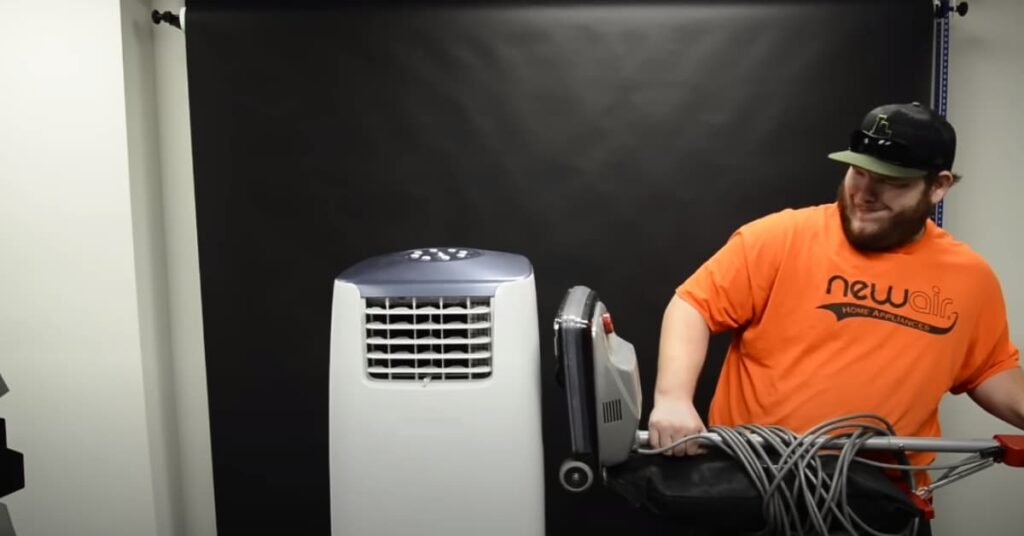
Start with vacuuming the outside of your Haier Portable Air Conditioner.
- Turn off and unplug the unit first.
- Use a soft brush attachment to avoid scratches.
- Gently vacuum vents and grills to remove dust.
- Pass over the surface to lift away loose dirt.
This process prevents dust build-up from blocking airflow.
Wiping Down The Exterior
After vacuuming, wipe the exterior for deep cleaning.
- Mix mild detergent with warm water in a bowl.
- Dip a soft cloth into the solution.
- Wring out excess liquid to avoid drips.
- Gently wipe down all surfaces of the unit.
- Use a dry cloth to remove any remaining moisture.
This step will remove stubborn dirt and leave a fresh look.
4. Cleaning The Air Vents
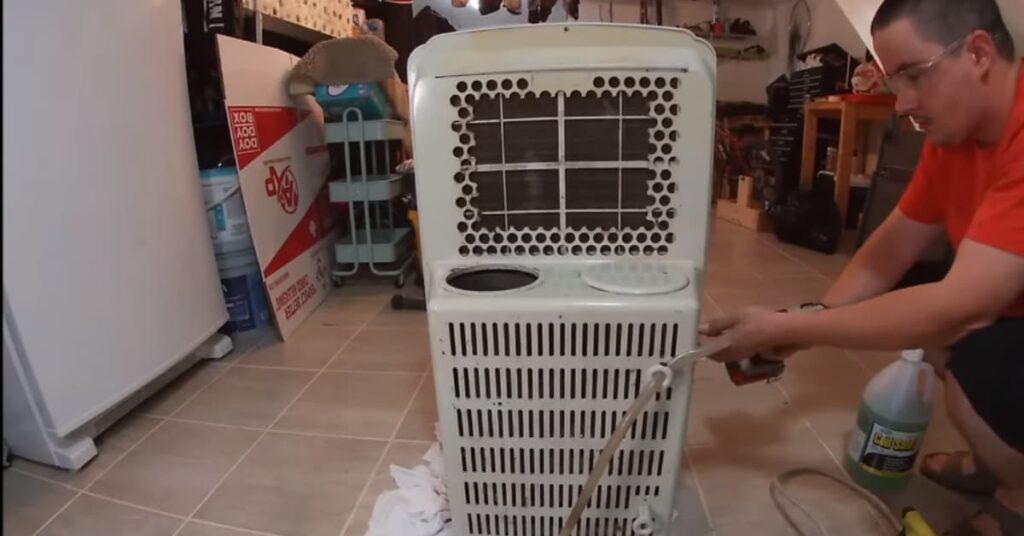
Maintaining your Haier Portable AC involves cleaning the air vents regularly. Dust and debris can block airflow and reduce efficiency. Follow these simple steps to keep your air vents clean.
Removing The Vent Covers
Remove the vent covers. Use a screwdriver if necessary. Be careful not to damage the covers or the clips holding them in place.
Vacuuming The Air Vents
Using a vacuum cleaner with a brush attachment, gently suction out dust from the inside of the vents. Reach as far into the vent as you can. Do not push the dirt further in.
Wiping Down The Air Vents
After vacuuming, use a damp cloth to wipe the inside and outside of the vents. If you encounter stubborn grime, a mild soap solution works wonders. Rinse with a clean, wet cloth and dry thoroughly before replacing the covers.
| Step | Tools Needed | Action |
| 1 | Screwdriver, if required | Remove vent covers |
| 2 | Vacuum with brush attachment | Vacuum the vents |
| 3 | Cloth, mild soap, water | Wipe and rinse vents |
5. Cleaning The Water Tray
Accumulated water can breed bacteria and mold. Keeping it clean ensures your unit runs efficiently and safely. Let’s dive into the simple steps of removing and washing the water tray.
Removing The Water Tray
Find the location of the water tray – usually at the bottom rear. Gently slide it out. Some trays have a safety lock; release it carefully.
Emptying And Cleaning The Water Tray
- Empty the tray: Pour out any standing water. Avoid spillage on electrical components.
- Rinse with water: Wash away residual dirt under a faucet or with a hose.
- Clean with mild soap: Use a soft sponge and soap. Scrub gently.
- Rinse again: Ensure all soap suds are gone. Soap residue can cause issues.
- Air-dry: Place the tray in a well-ventilated area. It should be completely dry.
Once dry, reinsert the water tray. Make sure it fits snugly into position. Regular cleaning will extend your air conditioner’s life and performance.
6. Cleaning The Condensation Drain
A clogged drain can lead to poor performance, water leaks, or even mold issues. Keep your unit functioning optimally with these simple steps.
Locating The Condensation Drain
Begin by identifying where the condensation drain is on your Haier unit. You will generally find it at the bottom rear part of the air conditioner.
Clearing The Condensation Drain
To clear the condensation drain, you need some basic tools and water. Follow these steps:
- Locate the drain plug at the bottom of the unit.
- Remove the drain plug and allow any excess water to flow out.
- Inspect the drain for any visible blockages.
- If blockages are present, use a small brush or a pipe cleaner to gently remove the debris.
- Flush the drain with clean water to ensure it is clear.
- Reattach the drain plug securely.
Regular cleaning of the condensation drain will ensure your Haier Portable Air Conditioner runs beautifully and efficiently.
7. Reassembling And Testing
Your Haier portable air conditioner is now spotless. Now, follow these steps to reassemble your device and ensure it’s ready to keep you cool again.
Putting Everything Back Together
Time to piece it all back together! Start by aligning the clean filters with their respective slots. Click them into place. Next, carefully slide the air conditioner’s body back into its outer shell, ensuring nothing is misaligned.
Use your screwdriver to replace all screws securely. It’s essential not to overlook any screws to guarantee the unit’s stability and performance.
Plugging In And Restarting The Air Conditioner
With your air conditioner reassembled, it’s time for the final phase. Locate your power outlet and gently plug in the unit. Give the power cord a soft tug to ensure it’s properly connected.
Press the power button. Listen for a smooth start-up sound, indicating your Haier portable air conditioner is ready to work. Set your desired temperature and enjoy the cool air.
Finally, monitor your air conditioner for a few minutes. Make sure there are no unusual noises or smells. If everything seems normal, congratulations once again! Your hard work has paid off, and your Haier portable air conditioner should provide peak performance.
Conclusion
Maintaining your Haier portable air conditioner is essential for peak performance. Regular cleaning ensures efficient operation and a longer lifespan for your unit.
Embrace these simple steps and enjoy a fresher, cooler environment in your home. Don’t hesitate to refer back to this guide when it’s time for a quick refresh.

