Why Does My AC Only Work On High? How To Fix
Are you facing a situation where your AC only operates effectively when set to the high setting? Wondering what might be causing this issue?
There are several possible causes for this issue, each requiring specific troubleshooting and solutions.
In this article, we will focus on understanding why your AC seems to work exclusively on high. So, let’s delve into the potential causes together to gain a clearer understanding of this frustrating AC behavior.
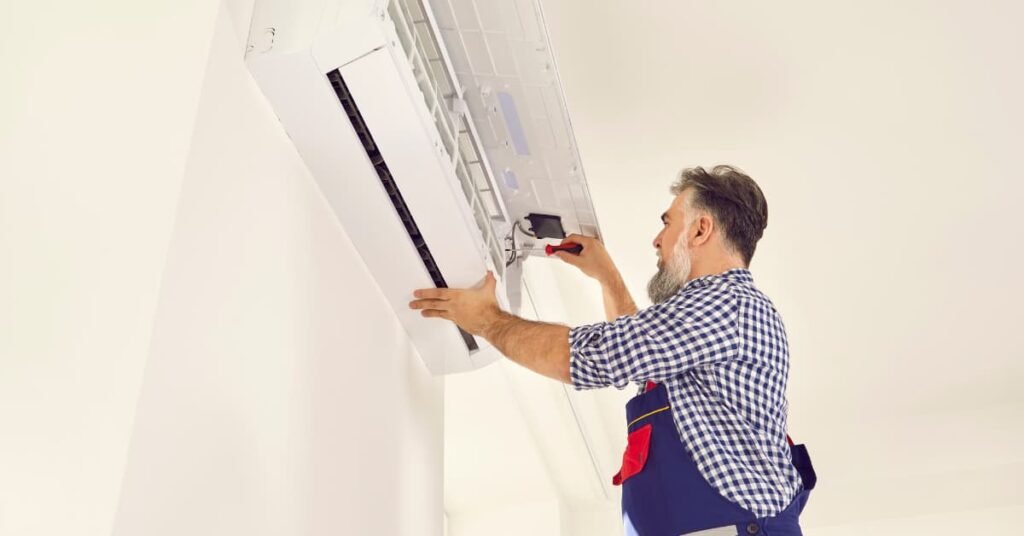
Why Does My AC Only Work On High?
Experiencing an AC unit that only functions on the high setting can be frustrating and inefficient.
Several factors could be contributing to this problem, such as a malfunctioning thermostat, electrical issues, refrigerant leaks, dirty condenser coils, or an undersized AC unit Etc..
Let’s provide step-by-step guides to fix them, promoting optimal AC performance and comfort.
1. Faulty Blower Motor
A faulty blower motor can greatly affect an AC’s performance, especially in lower settings.
The blower motor circulates air throughout the system. When it malfunctions, air distribution becomes inadequate.
How To Fix?
1. Turn off the AC: Ensure the unit is powered off before attempting any repairs to avoid potential injuries.
2. Locate the blower motor: Refer to the AC unit’s manual or search for its location online. It is usually positioned near the air handler or indoor unit.
3. Assess the motor: Check for any visible signs of damage like frayed wires or loose connections. These issues can often be resolved by tightening connections or replacing damaged components.
4. Test the motor: Use a multimeter to test the functionality of the blower motor. If it fails the test, it may need to be replaced.
5. Replace the blower motor: Consult a professional HVAC technician to replace the blower motor if needed. They have the expertise and tools to safely handle the intricate components.
2. Clogged Air Filter
A clogged air filter restricts airflow, diminishing the AC’s performance on lower settings.
It obstructs the passage of fresh air, forcing the unit to work harder to achieve the desired cooling effect.
How To Fix?
1. Locate the air filter: The air filter is typically found behind the return air grille of the AC system. Refer to the user manual if unsure.
2. Turn off the AC: Make sure the unit is powered off before proceeding with any maintenance tasks.
3. Remove the air filter: Gently remove the filter from its housing.
4. Inspect the filter: Check for dirt, debris, or excessive dust accumulation. If it appears clogged or dirty, it’s time for cleaning or replacement.
5. Clean or replace the filter: If reusable, clean the filter according to the manufacturer’s instructions. If disposable, replace it with a new filter of the same size and type.
6. Reinstall the filter: Place the cleaned or new filter back into its housing, ensuring it is properly aligned and snug.
7. Power on the AC: Turn the unit back on and monitor if the airflow and cooling improve.
3. Malfunctioning Thermostat
A malfunctioning thermostat can impair the AC’s ability to regulate temperature accurately, leading to problems with lower settings.
It serves as the control center of the AC system, and when it malfunctions, it can limit functionality.
How To Fix?
1. Check the thermostat settings: Ensure the thermostat is set to the desired temperature and cooling mode (e.g., cool or auto mode). Verify that it’s not on a temporary hold or overridden by any programming.
2. Replace the batteries: If your thermostat operates on batteries, replace them with new ones to eliminate a potential power issue.
3. Clean the thermostat: Dust and debris can accumulate on the thermostat, affecting its performance. Gently clean the surface using a soft cloth or compressed air.
4. Calibrate the thermostat: Follow the manufacturer’s instructions to recalibrate the thermostat to ensure accurate temperature readings.
5. Test the thermostat: Use a separate thermometer to compare the temperature reading with the thermostat’s display. If there’s a significant disparity, the thermostat may need professional calibration or replacement.
4. Electrical Issues
Electrical problems within the AC system can disrupt the normal operation, including restricting the AC’s functionality to the high setting.
Issues like faulty relays or wiring can contribute to this problem.
How To Fix?
1. Safety precautions: Before attempting any electrical work, ensure the AC unit is disconnected from the power source to avoid electrical shocks.
2. Inspect wiring and connections: Carefully examine the visible wiring and connections for signs of damage, such as frayed wires, loose connections, or burnt components.
3. Electrical testing: Use a voltage tester or multimeter to check for proper electrical flow and identify any anomalies in the circuitry.
4. Repair or replace faulty components: If any damaged wiring or components are identified, contact a qualified electrician to repair or replace them.
5. Consult a professional: If the electrical issue is complex or beyond your expertise, it’s best to seek assistance from a certified HVAC technician who can diagnose and resolve the problem safely and efficiently.
5. Refrigerant Leak
A refrigerant leak can greatly affect an AC’s cooling capacity, causing it to rely only on the high setting to compensate for reduced efficiency.
Refrigerant absorbs heat from indoor air, cools it, and circulates it back into the room.
How To Fix?
1. Identify the leak: Look for visible signs of refrigerant leakage, such as oil stains, frost accumulation, or hissing sounds around the refrigerant lines or components.
2. Turn off the AC: Ensure the unit is powered off before proceeding with any repair work to prevent injuries or further damage.
3. Contact a professional: Refrigerant leaks require professional attention. Reach out to a licensed HVAC technician who can assess the extent of the leak and perform a proper repair.
4. Repair or replace the affected parts: The technician will locate and repair the source of the leak, which could involve replacing damaged components like the coils or refrigerant lines.
5. Test the system: After the repairs, the technician will recharge the refrigerant and perform a thorough test to ensure proper cooling function.
6. Dirty Condenser Coils
Dirty condenser coils hinder the AC’s heat transfer process, making it work harder and potentially limiting its effectiveness on lower settings.
Condenser coils are responsible for releasing heat absorbed from the indoor air to the outside environment.
How To Fix?
1. Turn off the AC: Ensure the unit is powered off and disconnected from the power source to prevent accidents during the cleaning process.
2. Access the condenser unit: Locate the outdoor condenser unit and remove any debris or obstacles around it.
3. Clean the coils: Use a soft-bristle brush or a coil cleaning solution to gently remove dirt, debris, and dust from the condenser coils. Start from the top and work your way down.
4. Rinse the coils: Carefully spray water in the opposite direction of the coil’s airflow to remove any remaining dirt or cleaning solution residue.
5. Clean the fins: Straighten any bent fins using a fin comb. Be cautious not to damage the delicate fins.
6. Reassemble and test: After the coils and fins are clean and dry, reassemble the unit and restore power. Monitor the AC’s performance on different settings to see if the issue is resolved.
7. Undersized AC Unit
If your AC unit is too small for the space it’s cooling, it may struggle to adequately cool the area, forcing you to rely on the high setting for noticeable cooling.
An undersized AC unit cannot match the cooling demands of the room.
How To Fix?
1. Calculate cooling requirements: Measure the square footage of the room and use an online calculator or consult an HVAC professional to determine the appropriate cooling capacity needed.
2. Consult with an HVAC technician: Seek advice from a professional technician who can assess your cooling needs and recommend the proper AC unit size.
3. Replace the AC unit: If your AC unit is significantly undersized, it may be necessary to replace it with a unit of appropriate capacity for your space.
4. Professional installation: Proper installation is crucial to ensure optimal performance and efficiency. Hire a licensed HVAC technician to install the new AC unit according to manufacturer guidelines and local codes.
5. Regular maintenance: Maintain the new AC unit by scheduling regular professional maintenance visits. This will ensure efficient operation and identify any potential issues early on.
Conclusion
Discovering why your AC only functions properly on the high setting is crucial to resolving the issue.
To identify the cause of the issue with your AC unit, consider factors like a faulty thermostat, electrical problems, refrigerant leaks, dirty condenser coils, or an undersized unit. Once identified, take the necessary steps to resolve the problem.
To restore optimal cooling performance and ensure efficient AC operation, promptly address these issues. Seek professional assistance or follow step-by-step guides to identify and resolve underlying problems. Don’t hesitate!
By doing so, you can enjoy a comfortable and cool indoor environment throughout the year.

